Building a Frontend to Interact With Your Contract
To build a frontend application for the counter contract, we'll do the following:
- Install the Fuel Browser Wallet.
- Initialize a React project.
- Install the
fuelsSDK dependency. - Generate contract types.
- Write our frontend code.
- Run our project.
Install the Fuel Browser Wallet
Our frontend application will allow users to connect with a wallet, so you'll need to have a browser wallet installed.
Before going to the next steps, install the Fuel Wallet extension.
Once you've setup your wallet, click the "Faucet" button in the wallet to get some testnet tokens.
Initialize a React project
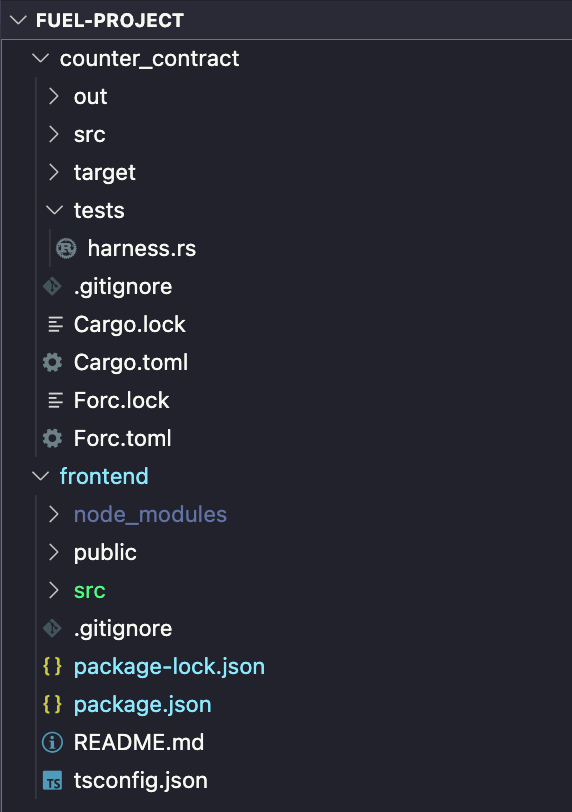
To split our project's contract from frontend code, let's initialize our frontend project: assuming that your terminal is open at your contract's folder /home/user/path/to/counter-contract let's go back up one directory.
cd .. Now, initialize a React project with TypeScript using Vite .
npm create vite@latest frontend -- --template react-tsThe output should be similar to this:
Scaffolding project in Fuel/fuel-project/frontend...

Done. Now run:

  cd frontend
  npm install
npm run devInstalling
Move into the frontend folder and install the dependencies by running:
cd frontend && npm install You should now have two folders inside your fuel-project folder: counter-contract and frontend.
Install the fuels SDK dependency
The fuels package includes all the main tools you need to interact with your Sway programs and the Fuel network.
The @fuel-wallet packages include everything you need to interact with user wallets.
fuelsrequires Node version20.0.0 || ^22.0.0 || ^24.0.0.
Install the following packages in your frontend folder:
npm install fuels @fuels/react @fuels/connectors @tanstack/react-queryGenerate contract types
The fuels init command generates a fuels.config.ts file that is used by the SDK to generate contract types.
Use the contracts flag to define where your contract folder is located, and the output flag to define where you want the generated files to be created.
Run the command below in your frontend folder to generate the config file:
npx fuels init --contracts ../counter-contract/ --output ./src/sway-api Now that you have a fuels.config.ts file, you can use the fuels build command to rebuild your contract and generate types.
Running this command will interpret the output ABI JSON from your contract and generate the correct TypeScript definitions.
If you see the folder fuel-project/counter-contract/out you will be able to see the ABI JSON there.
Inside the fuel-project/frontend directory run:
npx fuels buildA successful process should print and output like the following:
Building..
Building Sway programs using source 'forc' binary
Generating types..
🎉 Build completed successfully! Now you should be able to find a new folder fuel-project/frontend/src/sway-api.
Modify the App
Inside the frontend/src folder let's add code that interacts with our contract.
Because we'll be using @fuels/react, first we need to wrap our app with the FuelProvider component.
Add the imports below to the top of your frontend/src/main.tsx file and setup a query client:
import { FuelProvider } from "@fuels/react";
import { defaultConnectors } from "@fuels/connectors";
import { QueryClient, QueryClientProvider } from "@tanstack/react-query";

const queryClient = new QueryClient(); Next, modify your frontend/src/main.tsx file to wrap the App component with the FuelProvider and QueryClientProvider components.
createRoot(document.getElementById("root")!).render(
  <StrictMode>
    <QueryClientProvider client={queryClient}>
      <FuelProvider
        fuelConfig={{
          connectors: defaultConnectors(),
        }}
      >
        <App />
      </FuelProvider>
    </QueryClientProvider>
  </StrictMode>
); Next, change the file fuel-project/frontend/src/App.tsx to:
import { useEffect, useState } from "react";
import {
  useBalance,
  useConnectUI,
  useIsConnected,
  useWallet,
} from "@fuels/react";
import { CounterContract } from "./sway-api";


// REPLACE WITH YOUR CONTRACT ID
const CONTRACT_ID =
  "0x1290a1e0005419795e18d60db793ddda53c7549032ff0e33ac239ed962636d11";

export default function App() {
  const [contract, setContract] = useState<CounterContract>();
  const [counter, setCounter] = useState<number>();
  const { connect, isConnecting } = useConnectUI();
  const { isConnected } = useIsConnected();
  const { wallet } = useWallet();
  const { balance } = useBalance({
    address: wallet?.address.toAddress(),
    assetId: wallet?.provider.getBaseAssetId(),
  });

  useEffect(() => {
    async function getInitialCount() {
      if (isConnected && wallet) {
        const counterContract = new CounterContract(
          CONTRACT_ID,
          wallet
        );
        await getCount(counterContract);
        setContract(counterContract);
      }
    }

    getInitialCount();
  }, [isConnected, wallet]);

  const getCount = async (counterContract: CounterContract) => {
    try {
      const { value } = await counterContract.functions.count().get();
      setCounter(value.toNumber());
    } catch (error) {
      console.error(error);
    }
  };

  const onIncrementPressed = async () => {
    if (!contract) {
      return alert("Contract not loaded");
    }
    try {
      await contract.functions.increment().call();
      await getCount(contract);
    } catch (error) {
      console.error(error);
    }
  };

  return (
    <div style={styles.root}>
      <div style={styles.container}>
        {isConnected ? (
          <>
            <h3 style={styles.label}>Counter</h3>
            <div style={styles.counter}>{counter ?? 0}</div>

            {balance && balance.toNumber() === 0 ? (
              <p>
                Get testnet funds from the{" "}
                <a
                  target="_blank"
                  rel="noopener noreferrer"
                  href={`https://faucet-testnet.fuel.network/?address=${wallet?.address.toAddress()}`}
                >
                  Fuel Faucet
                </a>{" "}
                to increment the counter.
              </p>
            ) : (
              <button onClick={onIncrementPressed} style={styles.button}>
                Increment Counter
              </button>
            )}

            <p>Your Fuel Wallet address is:</p>
            <p>{wallet?.address.toAddress()}</p>
          </>
        ) : (
          <button
            onClick={() => {
              connect();
            }}
            style={styles.button}
          >
            {isConnecting ? "Connecting" : "Connect"}
          </button>
        )}
      </div>
    </div>
  );
}

const styles = {
  root: {
    display: "grid",
    placeItems: "center",
    height: "100vh",
    width: "100vw",
    backgroundColor: "black",
  } as React.CSSProperties,
  container: {
    color: "#ffffffec",
    display: "flex",
    flexDirection: "column",
    alignItems: "center",
  } as React.CSSProperties,
  label: {
    fontSize: "28px",
  },
  counter: {
    color: "#a0a0a0",
    fontSize: "48px",
  },
  button: {
    borderRadius: "8px",
    margin: "24px 0px",
    backgroundColor: "#707070",
    fontSize: "16px",
    color: "#ffffffec",
    border: "none",
    outline: "none",
    height: "60px",
    padding: "0 1rem",
    cursor: "pointer",
  },
}; Finally, replace the value of the CONTRACT_ID variable at the top of your App.tsx file with the address of the contract you just deployed.
Run your project
Inside the fuel-project/frontend directory run:
npm run dev VITE v5.3.5 ready in 108 ms
➜ Local: http://localhost:5173/
➜ Network: use --host to expose
➜ press h + enter to show helpClick the "Connect" button and select the wallet you have installed to connect your wallet.
Once connected, if there are no funds in your wallet, you will see a link to get testnet funds.
If you have testnet ETH on Fuel, you should see the counter value and increment button:
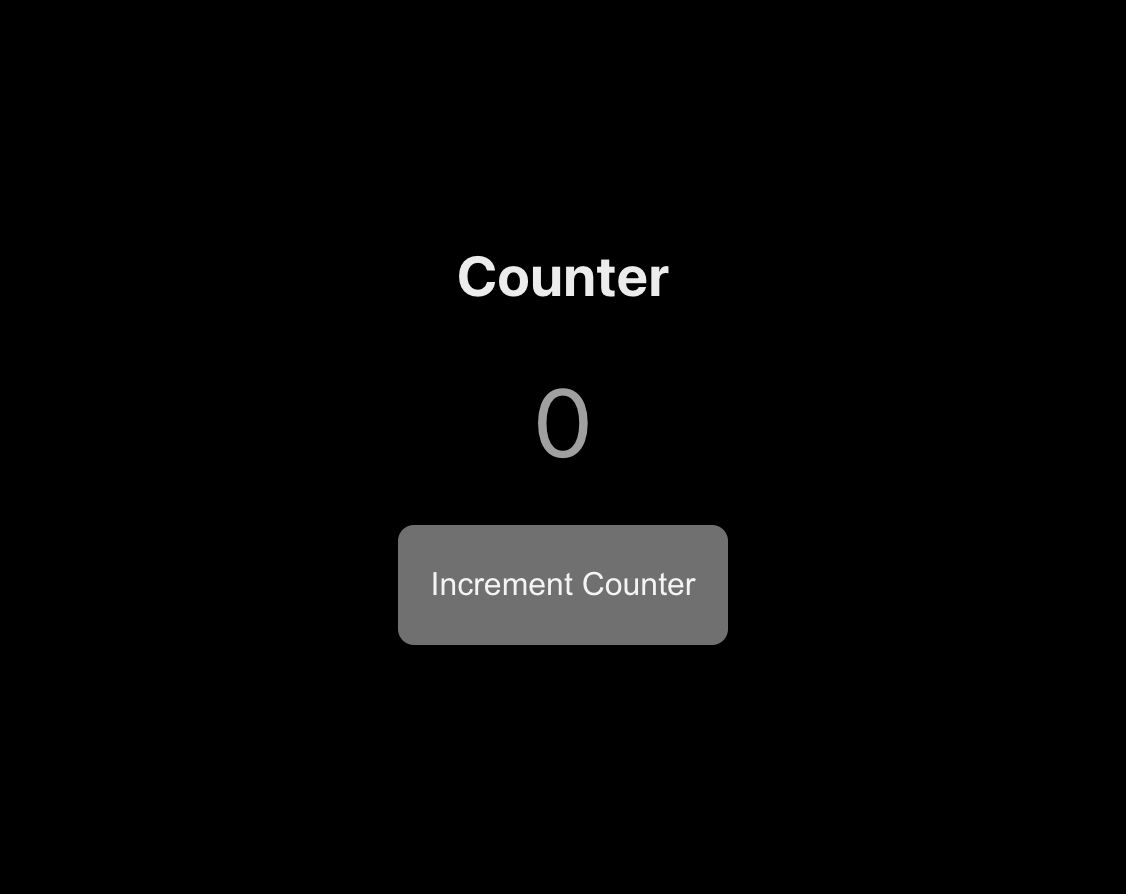
You just built a fullstack dapp on Fuel! ⛽
Here is the repo for this project .
If you run into any problems, a good first step is to compare your code to this repo and resolve any differences.
Tweet us @fuel_network letting us know you just built a dapp on Fuel, you might get invited to a private group of builders, be invited to the next Fuel dinner, get alpha on the project, or something 👀.
Updating The Contract
To develop and test faster, we recommend using the fuels dev command to start a local node and automatically redeploy and generate types for your contract on each change.
Once you're ready to redeploy your contract to the testnet, here are the steps you should take to get your frontend and contract back in sync:
- In your frontend directory, re-run this command:
npx fuels build. - In your contract directory, redeploy the contract.
- In your frontend directory, update the contract ID in your
App.tsxfile.
Need Help?
Get help from the team by posting your question in the Fuel Forum .